How to Build a Screen for Screen Printing
Screen printing is a versatile and widely-used technique that allows you to print detailed and vibrant designs onto various surfaces, such as fabric, paper, and metal. Whether you're a professional or a hobbyist, understanding how to build a screen for screen printing is fundamental to creating high-quality prints. In this guide, we will walk you through the step-by-step process of building your own screen, ensuring a smooth and efficient printing experience.
Understanding the Basics of Screen Printing
Screen printing, also known as silkscreen printing, involves using a mesh screen to transfer ink onto a substrate, except in areas made impermeable by a stencil. The mesh is typically made from silk, polyester, or nylon materials. For small business print shops or home print shops, mastering this skill can open up a world of creative possibilities.
Materials You Will Need
Before we dive into the construction process, gather the necessary materials:
- Screen Frame: You can either build your own frame using wood or purchase pre-made aluminum frames.
- Mesh: The mesh count depends on the detail of the design you want to print. For most fabric printing, a 110-160 mesh count works well.
- Staple Gun: To attach the mesh to the frame.
- Scissors: For trimming excess mesh.
- Emulsion: A light-sensitive liquid that will help create your stencil.
- Squeegee: For spreading ink evenly across the screen.
Step-by-Step Guide to Building a Screen
1. Preparing the Frame and Mesh
Start with your frame by ensuring it is clean and dry. Cut a piece of mesh large enough to stretch over the frame with a few inches of excess on all sides. Using the staple gun, attach the mesh to the frame, keeping it tight and even. Trim any excess mesh.
2. Coating the Screen with Emulsion
In a dark, well-ventilated area, apply a thin layer of emulsion to the mesh using a scoop coater. Ensure the screen is coated evenly on both sides. Allow the screen to dry in a pitch-black space to prevent premature exposure.
3. Creating the Stencil
Once dry, place your design on a transparency sheet onto the screen. Expose the screen to a light source for the recommended time based on your emulsion product. This will harden the emulsion, except where your design is, creating your stencil.
4. Washing Out the Design
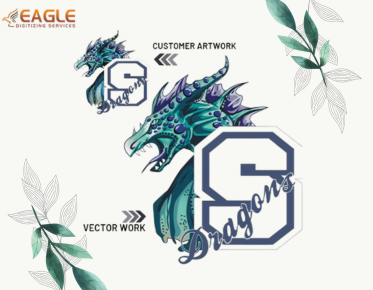
After exposure, use a hose to wash the screen. The areas with your design will wash away, leaving a clear space for the ink to pass through. Check for any imperfections and touch them up with additional emulsion if necessary. This step is crucial for ensuring that the transfer of details in screen printing is accurate, which can be improved by using vectorizing services to refine designs before printing.
Final Steps and Printing
1. Setting Up for Printing
Set your screen on the press, ensuring it aligns with your substrate. Spread ink onto the screen, and use a squeegee to press it through the mesh and onto your printing surface. Test a few samples to refine your technique and ensure the design prints as intended.
2. Cleaning the Screen
After printing, promptly clean your screen with a cleaner designed for emulsions, as dried emulsion can be difficult to remove. Proper maintenance of your screens ensures longevity and quality of future prints.
Applications and Services
Screen printing is not only suitable for textiles; it extends to a myriad of other materials, making it ideal for promotional products, signs, and packaging. To optimize your designs for screen printing, engaging with a vector conversion service can enhance precision and scalability.
Explore Further into Screen Printing
Advancements in screen printing technology and techniques are constant, presenting endless opportunities for creativity and improvement. As you hone your skills, consider delving into digital screen printing methods or exploring multi-color designs which can transform a simple project into a captivating masterpiece.


