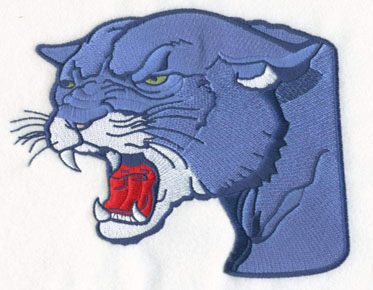
Making a Vector Art From Scratch: A Guide to Creating Your Own Custom Graphics
Vector arts are a popular format for creating custom graphics because they can be scaled up or down without losing quality. Whether you want to create a simple logo or a complex illustration, making a vector art from scratch is an easy and straightforward process.
In this article, Eagle Digitizingwill show you how to create a vector graphic from scratch using Adobe Illustrator.
Step 1: Draw the Basic Shape
Start by creating the basic shape of the object you want to create using the pen tool. This can be a simple outline or a more complex shape depending on your design.
Step 2: Add Detail
Next, add details using other tools, such as the shape tools (Ellipse, Rectangle, Polygon, etc), the paintbrush, or the Line Segment tool. You can also add color and texture to your design.
Step 3: Combine Shapes
If you have multiple shapes, select them and choose the Shape Builder tool to combine them into a single shape. This step is to ensure that your graphic remains editable and scalable.
Step 4: Customize and Edit
To make your graphic more unique, use other tools to add details or adjust the colors. You can also use brushes to create a freehand drawing style or outline the strokes from the overhead menu Object > Path > Outline Stroke.
There are many ways to make a vector art from scratch, and you can always combine methods to create something unique. You can use any of the tools provided by your software program, or experiment with different colors and textures.
Finally, remember to save your vector
graphic in a vector file format such as SVG or AI. This will ensure that your
graphic remains editable and scalable. If you need help creating custom
vectors, consider using a professional digitizing service like Eagle
Digitizing, which can help you with all of your vector art conversion needs.


