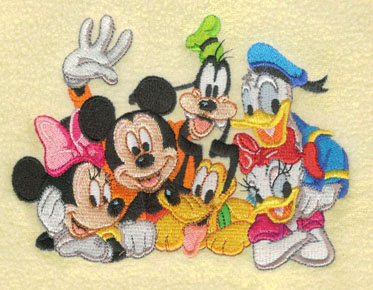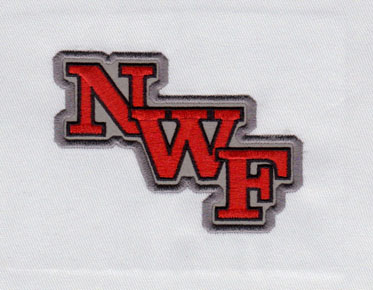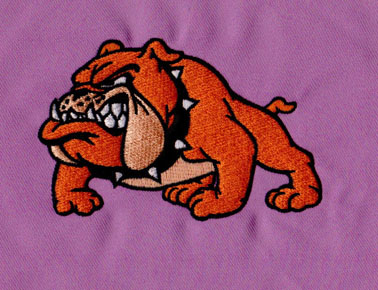

The Step-By-Step Guide to Digitizing All your Logos for Embroidery
Don't worry! We understand how you feel. But we can guarantee you it's not that simple. The process is confusing. As the topic suggests, this article will explain everything there is to know about digitizing your logo for embroidery.
Eight simple steps to digitize your logo
Step # 01: Insert File
Is the design file or logo you selected in one of the popular formats? Such as PNG, JPEG, JPG, PDF, etc. Or, even if they are not in these widely used formats, you can use online converters to convert them to one of them. However, you may get enough of them in digital software.
All you need to do is get the file and upload it to the software. You can trim the edges to get a clean look or reduce extra space.
Step # 02: Set Size
Perhaps you are looking for digital embroidery services because you are inexperienced in setting up accurate measurements. Of course, this requires accuracy, and you need to implement it. You must remember that no matter what size you are submitting. The output will be a large and small copy that will appear on your product. That's why you must not let your attention wander. Therefore, especially at this time, it is only necessary to carefully determine the space on the recipient project.
Once you convince yourself 100%, this is the way you want to decorate the things you want. It's time to use the lock option in the logo digitizing software. It is important to apply these settings here, otherwise the rest of the process will be in vain. In addition, you will lose your previous efforts.

Step # 03: Select your favorite stitch type
This is really an interesting part. Over time, the technology has developed so fast that we can obtain multiple stitch types from one machine. Some of these names include: Capture, Whip, Bast, Satin, Fill, etc. All that remains is to cast the magic spell of creativity and innovation. Therefore, there is no need to continue to see those ancient types without interesting factors.
However, remember that each of them has a maximum length, so it is important to consider this. In addition, not every fabric or garment belongs to the same category. Some feel slippery, while others are static or rough. Although some are granular, others are very soft. The limitation is that it is not easy to digitize the logo to embroider on any type of material. You need to know which stitch is most suitable for a particular type of textile. Otherwise, after all the boring efforts, the results will not meet the standard as you expect.
Step # 04: Guide the embroidery machine
The digitization of the logo of the embroidery program will become a pain on the neck, if you accidentally skip this very critical step. How painful will it be when you encounter and deal with unexpected, unattractive and chaotic patterns?! This intentionally means that all your contributions have been wasted. However, we are here to provide you with protection. The problem is that you can save time and threads with the best of both worlds. The latter is also synonymous with minimizing costs. What you can do here is to set the sewing direction accurately.
This will be a wonderful move in the whole process of embroidery digitization. Because it will allow the relevant machine to know the path of the needle. Your task is to use the instructions for each specific stitch to indicate the device. Therefore, use your potential in outlining an effective suture roadmap.
Step # 05: Select thread color
Let's concentrate on answering: "Have you heard of a standardized color reproduction system called Pantone Color Matching System (PMS)? You can use charts to choose the colors of your badges. However, please ensure that they are exactly the same as the content on your actual logo.
These tones are divided into several parts according to their popularity and use. In addition, even if you have used the logo digitization service, you can still use the color you choose to entrust the provider. For example, if your badge needs higher visibility, you should choose a fluorescent color. Then, he will show the corresponding shadow in the form of thread.
Step # 06: Transfer the embroidery file
You may touch your chin and consider that cheap digital services are a better choice, because all these become irresistible! But hold on. Take a few more steps, and you will grin at your excellent work! So now, get the converted embroidery file, which may be one of the formats familiar to the machine. It can be DST, EXP, JEF, or any other format. Anyway, this is a headache for the device, so start. Use the appropriate flash drive, card, or even data cable to transfer files to the machine. ah This part is complete.
Step # 07: Get your embroidery machine ready
Now, we are deeply studying the process of "how to digitize the logo for printing", and you will be very careful in this process. First, prepare the machine by letting it know your artistic elements. This is very simple, but please note that you have key skills in selecting the right needle, related thread, etc. It will also include the direction and arrangement of embroidery.
Next, you need to ensure that the input component exists. For example, check whether the thread color you require has been inserted, or whether some changes need to be met. Finally, put the fabric into the frame and skate directly in the machine. Well, relax now, because your "How to Digitize Your Logo" settings are now in the final stages.

Step # 08: Run Test
Because this technology performs its assigned tasks with due diligence. You just have to be patient. It will take a few minutes for your cracks to explain the problem. Once it slips out of your hands, it's time to put on your glasses and bend forward. Begin checking and note errors and adjustments. This is important. If something is missing, make the necessary changes before embroidering your product line.
Remember that testing is essential because errors are inevitable. But the negligence of this method may cause you to lose an arm and a leg, because these will be printed on who knows how many items. All right, before sending out the green signal for batch printing, please make appropriate checks.
You are fully equipped with all the appropriate movements to come up with your own artwork. As a bonus item, you also add the value and conversion method of embroidery files to your knowledge base. Even if you still don't fully believe that you can do it. Then, you can get help from any expert with just a few clicks. However, if you just dig deep, can you realize or feel a sense of empowerment or satisfaction? You can achieve these goals by turning your ideas into practical or viable products! Sounds amazing, huh? So equip yourself and get started.