What is Embroidery Digitizing for Beginners?
Embroidery digitizing is a fascinating and essential process for anyone interested in creating custom embroidered designs. For beginners, understanding the basics of embroidery digitizing can open up a world of creative possibilities. This guide will walk you through the fundamental concepts, tools, and techniques involved in embroidery digitizing, making it easier for you to get started on your journey.
Understanding Embroidery Digitizing
At its core, embroidery digitizing is the process of converting artwork into a digital file that an embroidery machine can read. This file contains instructions on how to stitch the design onto fabric, including the stitch type, direction, and color changes. The process involves using specialized software to trace the artwork with stitches, creating a digital representation of the design.
The Importance of Digitizing Software
Digitizing software is a crucial tool in the embroidery digitizing process. It allows you to import artwork, edit designs, and convert them into a format that embroidery machines can understand. There are various software options available, ranging from beginner-friendly to professional-grade. As a beginner, it's important to choose software that offers a balance between ease of use and functionality.
Getting Started with Embroidery Digitizing
To begin your embroidery digitizing journey, you'll need a few key components: a computer, digitizing software, and an embroidery machine. Start by selecting a simple design to digitize, such as a logo or a basic shape. Import the design into your software and use the tools available to trace the design with stitches. Pay attention to the stitch type and direction, as these will affect the final appearance of the embroidery.
Choosing the Right Stitch Types
Stitch types are an important aspect of embroidery digitizing. Common stitch types include satin stitches, fill stitches, and running stitches. Each type serves a different purpose and can be used to achieve various effects in your design. Experiment with different stitch types to see how they affect the look and feel of your embroidery.
Common Challenges and Solutions
As a beginner, you may encounter some challenges when learning embroidery digitizing. One common issue is thread breakage, which can occur if the design is not digitized properly. To minimize this, ensure that your design is optimized for the fabric and thread you are using. Additionally, test your design on a sample piece of fabric before embroidering the final product.
Exploring Advanced Techniques
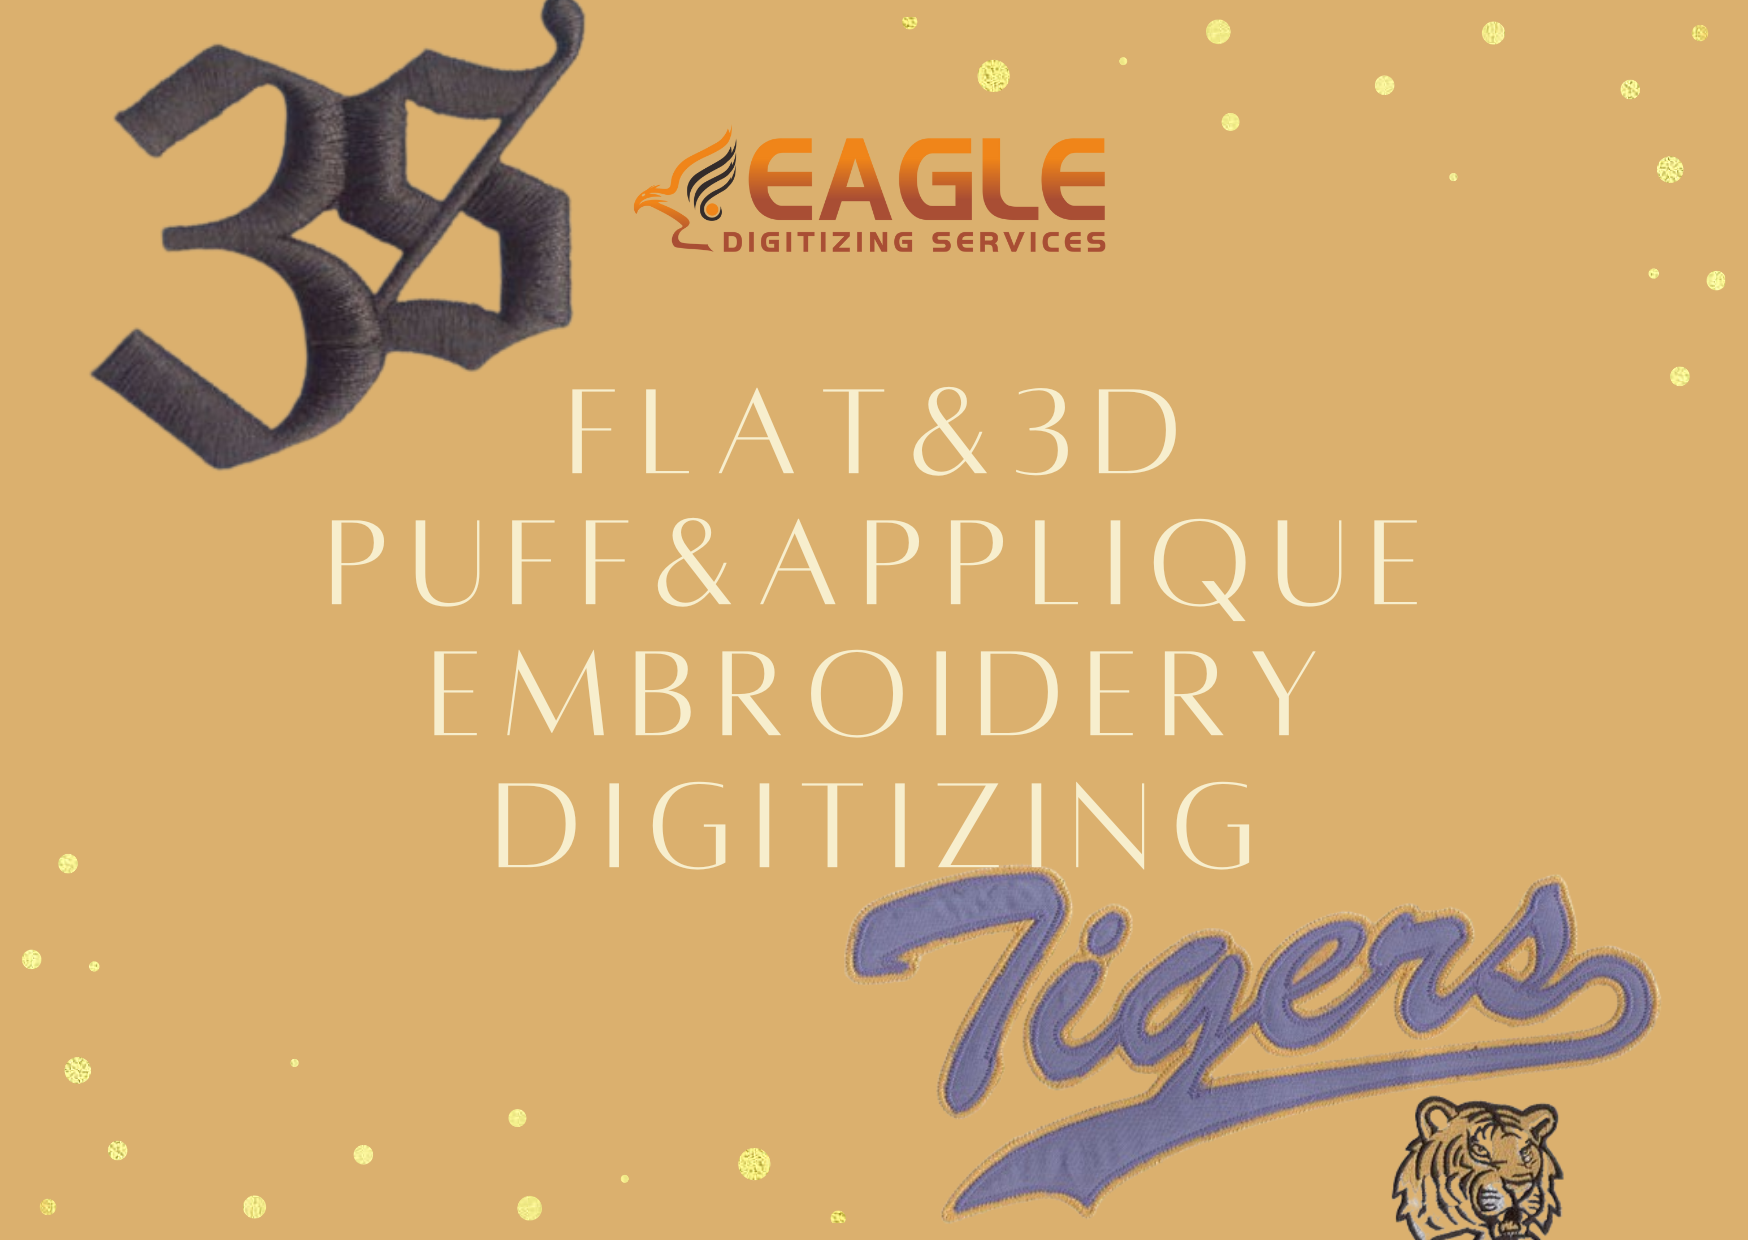
Once you have mastered the basics of embroidery digitizing, you can explore more advanced techniques such as 3D puff embroidery and applique. These techniques add depth and dimension to your designs, making them stand out. Experimenting with different techniques will help you develop your skills and create unique, eye-catching embroidery.
The Role of Professional Services
For those who prefer to focus on the creative aspects of embroidery, professional digitizing services like Eagle Digitizing can be a valuable resource. These services offer expertise in converting complex designs into high-quality embroidery files, saving you time and ensuring the best possible results. Eagle Digitizing, for example, provides quick turnaround times and guarantees customer satisfaction, making it a reliable choice for both beginners and experienced embroiderers.
Future Trends in Embroidery Digitizing
As technology continues to evolve, so does the field of embroidery digitizing. New software features and machine capabilities are constantly being developed, offering more possibilities for creativity and efficiency. Staying informed about these advancements will help you stay ahead in the world of embroidery and continue to produce innovative designs.
Embroidery digitizing is a rewarding skill that combines art and technology. By understanding the basics and exploring new techniques, you can create stunning embroidered pieces that showcase your creativity. Whether you choose to digitize your own designs or work with professional services, the possibilities are endless.


