Converting Raster Images to Vector in Illustrator
In today's digital design world, mastering how to convert raster to vector images using Adobe Illustrator is an essential skill. Vectors provide scalability, meaning graphics can be resized without losing quality—a feature critical for designers who work in various formats from business cards to billboards.
Understanding Raster and Vector Images
Raster images are made up of a grid of pixels with each pixel having a specific color value. These are common in photos and digital images. However, they become problematic when scaling up as they tend to pixelate and lose quality. On the other hand, vector images are created using mathematical equations, lines, and curves, allowing them to be resized infinitely without losing detail.
Steps to Vectorize a Raster Image in Illustrator
To convert a raster image to a vector in Illustrator, follow these detailed steps:
Step 1: Open Your Raster Image in Illustrator
Start by opening Adobe Illustrator. Go to "File" and click on "Open" to browse and select the raster image you wish to convert.
Step 2: Select the Image
Once your image is imported, select it. You’ll find the "Selection Tool" (shortcut key: V) quite helpful for this.
Step 3: Use the Image Trace Tool
With the image selected, navigate to the "Window" menu and select "Image Trace." This will open the Image Trace panel where you can manipulate various settings. You may choose from different presets such as "High Fidelity Photo," "Low Fidelity Photo," depending on the level of detail required. For detailed and crisp results, "High Fidelity Photo" is often recommended.
Step 4: Fine-Tune the Trace Settings
In the Image Trace panel, you see various options to adjust the tracing such as thresholds, paths, corners, and noise. Adjust these settings to match the level of detail you desire in your vector image. If this is your first time, experiment with sliders to see their effect on image outline and detail.
Step 5: Expand the Image
Once satisfied with the trace result, click the "Expand" button in the control panel (located along the top of your working area). This converts the traced path into vector shapes.
Step 6: Ungroup the Elements
The vector might still be grouped into a single object. To work with individual elements, right-click and select "Ungroup" or choose "Object" > "Ungroup" from the menu.
Step 7: Edit the Vector if Needed
With your image now a vector, you can use Illustrator's tools like the Direct Selection Tool (A), to tweak individual points and paths as needed to refine the design.
Using Eagle Digitizing Services
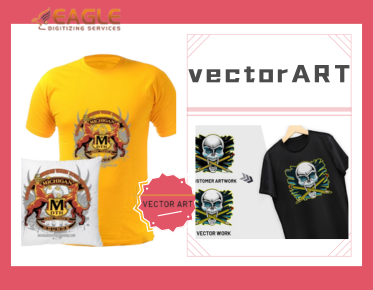
While Illustrator offers robust tools for vector conversion, professional vectorizing services like Eagle Digitizing may be worth considering when dealing with complex designs or high-volume tasks. Eagle Digitizing offers a range of vector art conversion services suited for everything from embroidery to large-scale print applications.
Conclusion and Future Trends
The trend of integrating AI and machine learning within design tools continues to advance, promising more intuitive features for converting between raster and vector formats. As these technologies evolve, designers will find more streamlined workflows, allowing for faster and more efficient design processes. Keeping an eye on these advancements will be crucial for professionals aiming to stay at the forefront of digital graphic design.


