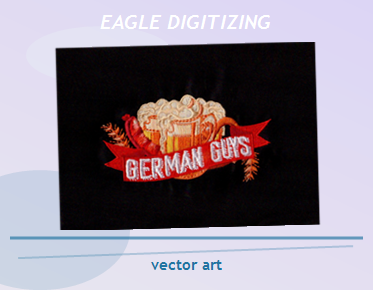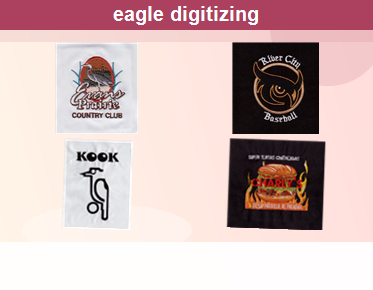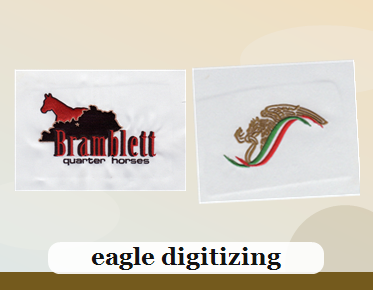

Embroidery Digitizing for Corporate Apparel
Successful embroidery on corporate apparel starts with a design file built for the garment, not just an image that looks good on screen. corporate embroidery digitizing translates a logo into stitch types, directions, density, and sequencing suited to its intended placement and fabric. When those choices are planned together, the result is easier to reproduce across polos, jackets, uniforms, and other branded clothing.
Why corporate logos need a production-minded file
A company logo may appear on many garments, but the same digitized file does not automatically perform equally well on every item. A polo shirt, fleece jacket, woven shirt, and cap can differ in stretch, thickness, texture, and available embroidery area. Those differences affect how stitches sit on the fabric and whether small details remain legible after sewing.
Digitizing is the process of converting artwork into machine-readable embroidery instructions. The file specifies how the design is formed, including stitch types, stitch direction, underlay, sequencing, and other settings. It is not simply a conversion from a JPG or PDF into a machine format. A production-ready design accounts for the artwork and the conditions under which it will be embroidered.
This matters especially when several people or departments need to order the same branded apparel over time. A carefully prepared file can help maintain a consistent appearance from one production run to the next, while an unsuitable file may lead to puckering, gaps, bulky areas, or lettering that is difficult to read.
Start with placement and garment details
Before digitizing begins, identify where the logo will go and what garment will carry it. Common corporate placements include the left chest, sleeve, and upper back, but the available space and garment construction influence the best choice. Seams, pockets, plackets, linings, and curved panels may limit the sewable area or affect hooping.
Review a placement guide such as corporate apparel logo placement when deciding where a mark should appear. The guide can help frame the placement discussion, but the final position should still be checked against the specific garment and size range. A logo that fits comfortably on one shirt style may not have the same clear area on another.
When requesting digitizing, provide the cleanest available logo artwork along with the garment type, intended location, approximate finished dimensions, and any important color or detail requirements. If one design will be used on multiple fabric types or at different sizes, mention that upfront. It gives the digitizer a chance to consider whether separate versions are more appropriate than stretching one file across every application.
How digitizing choices affect the sew-out
- Stitch type: Satin stitches work well for many narrow columns and lettering, while fill stitches cover broader shapes. Running stitches can define fine lines, but they are not a substitute for every solid element.
- Underlay: Underlay stitches help stabilize the design and support the top stitching. The right approach depends on the fabric, design shape, and stitch coverage.
- Stitch direction: Direction changes how thread reflects light and can influence the way a shape lies on the garment. Planned direction also helps distinguish adjoining sections of a logo.
- Pull compensation: Fabric and thread can shift as stitches are formed. Compensation may be needed to help shapes meet as intended, but excessive adjustment can distort edges or details.
- Sequencing: A logical stitch sequence can reduce unnecessary movement and help the machine sew the design efficiently. Color changes and trims should suit the artwork and production setup.
These decisions work together. For example, adding stitches to compensate for an unstable fabric is not always the best fix; the design may instead need a different underlay or a more suitable stitch direction. A good file balances coverage, stability, and clarity rather than maximizing stitch count.
Density, small lettering, and logo detail
Stitch density affects how much thread is placed in a given area. Too little coverage can leave fabric showing through, while excessive density can make an embroidered area stiff, heavy, or prone to puckering. Fabric weight and texture matter: the same density settings may behave differently on a smooth woven shirt and a soft knit polo.
For a deeper overview, use this apparel embroidery stitch density guide as a reference. Density should be considered alongside underlay, thread, stabilizer, and garment construction—not treated as an isolated number. The intended finished size also matters because reducing a design can crowd stitches and close gaps between letters or shapes.
Small text and fine logo details deserve a careful size check. Narrow strokes, tiny counters, and closely spaced characters may not reproduce clearly when embroidered at a small scale. Simplifying a detail or adjusting the lettering can sometimes preserve readability better than trying to retain every element from the original artwork. Confirm the minimum practical size for the actual fabric and placement before approving production.
Preparing one logo for a corporate apparel program
Teams often want a consistent logo across a range of products. The most useful starting point is a clear specification that identifies the approved artwork, thread colors, placement, garment styles, and intended embroidery dimensions. Keep those details available to the digitizer and production team so that future orders can follow the same direction.
Not every apparel item necessarily needs an identical stitch file. A large back design and a compact left-chest mark have different requirements. Likewise, a design intended for a cap may need different construction from one for a polo. When the application changes substantially, ask whether the artwork or digitizing should be adapted rather than assuming one version will suit every garment.
Branded clothing is often selected for practical wear as well as visibility. The discussion around embroidered corporate apparel reflects why comfort and everyday usefulness matter to apparel programs. From a production perspective, that makes fabric compatibility and a clean, durable-looking sew-out important parts of the planning process.
A practical pre-production checklist
- Confirm the final logo artwork and identify which elements must remain legible.
- Specify garment style, fabric when known, placement, and finished design dimensions.
- Review lettering and fine detail at the actual embroidery size, not only at full artwork scale.
- Ask whether different garment types or placements call for separate digitized versions.
- Review a sew-out on a representative garment or comparable material when production conditions allow.
- Keep approved artwork and production notes together for repeat orders.
A sew-out can reveal issues that are difficult to spot on a screen, including fabric show-through, crowded text, uneven edges, or a design that feels too dense for the garment. If a sample needs adjustment, communicate the specific concern and where it appears. Clear feedback helps focus revisions on the actual production result.
Frequently asked questions
Can the same embroidery file be used on every corporate garment?
Sometimes, but it should not be assumed. Different garments can vary in fabric, construction, available space, and placement. A digitized file should be evaluated for the intended application, especially when moving between items such as polos, jackets, and caps or changing the design size.
Why does embroidered lettering look different from the logo on screen?
Embroidery represents shapes with thread and stitches rather than printed pixels. Very small lettering, narrow strokes, and tight spacing may need adjustment to remain readable when sewn. The finished appearance also depends on stitch type, density, fabric, and design dimensions.
What information should I provide for corporate logo digitizing?
Share the best available artwork, garment type, intended placement, approximate finished size, and any color requirements. If the logo will be used on multiple garments or at multiple sizes, include those applications in the request so the digitizing can be considered in context.
For a cleaner, more consistent result across branded garments, treat digitizing as part of apparel planning—not an afterthought. Eagle Digitizing can help prepare embroidery files around your logo and intended application. Share your artwork and garment details to request a quote for corporate embroidery digitizing.