
Cap Logo Digitizing: Flat Artwork to Finished Embroidery
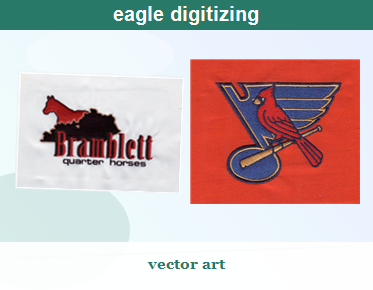
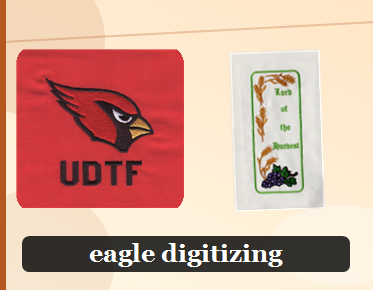
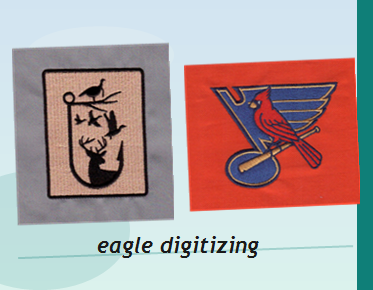
Cap logo digitizing turns flat artwork into a stitch file planned for the curved, structured surface of a hat. The difference between artwork and a production-ready result comes down to stitch sequence, underlay, density, and how the design handles fabric movement. A useful cap digitizing before after comparison shows why a logo that looks clean on screen may need thoughtful adjustments to sew clearly on a cap.
Why cap logos need their own digitizing approach
A cap is not a flat piece of fabric held still beneath a needle. The front panel curves around the wearer’s head, may include a center seam, and is held in a cap frame while the machine works across the design. That shape affects how stitches land and how the fabric can shift. A file created for a flat garment may therefore sew differently when moved onto a cap.
Cap digitizing accounts for these production conditions from the start. The goal is not simply to trace the artwork with stitches. It is to build a sequence that helps the design sew smoothly across the panel, keeps important details legible, and reduces unwanted gaps or distortion. The right choices depend on the logo, the cap’s construction, the fabric, and the intended embroidery size.
This is especially important for logos with small text, narrow outlines, overlapping shapes, or elements that cross a seam. A design can be attractive on a monitor but become crowded or difficult to read when stitched at cap scale. Reviewing the artwork at its intended finished size is an essential early step.
From flat artwork to a stitch plan
Digitizing begins by assessing the artwork rather than applying one setting to every design. The digitizer considers which shapes are most important, where outlines and fills meet, and which details may need simplification. The image is then translated into embroidery objects with a planned stitch type, direction, and order.
Stitch direction can influence both appearance and how the fabric behaves during sewing. Underlay helps support the top stitches, while density needs to be balanced for the design and material. Pull compensation may be used to account for the way stitches can draw fabric inward. These decisions work together: changing one part of the plan can affect edges, overlaps, and the finished dimensions.
For caps, stitch sequence also matters. A sensible sew order can help stabilize the design as it builds and reduce the chance that later stitches pull earlier areas out of position. The best sequence is not identical for every logo; it depends on the design’s construction and how it will be framed and sewn.
What a useful before-and-after review should show
A meaningful comparison is about more than a prettier preview. It should make clear how the digitizing plan addresses real production challenges and preserves the logo’s essential features. When evaluating a cap file, look for practical improvements such as:
- Readable lettering: Small text should be judged at actual embroidery size, not enlarged on a screen. Some lettering may need adjustments to remain clear once stitched.
- Clean edges: Borders and adjoining color areas should be planned to limit visible gaps and unintended overlaps.
- Suitable stitch direction: Stitch angles should support the shapes and create a consistent embroidered appearance.
- Considered underlay and density: The stitch foundation should suit the design and cap material rather than relying on a generic setting.
- Practical sequencing: The order should account for the design’s layers and the way the cap will be hooped and sewn.
A before-and-after image can help explain the transformation, but it cannot replace a sew-out. The actual result also depends on the cap, stabilizing and framing choices, machine setup, thread, and other production variables. A digitized file should be evaluated in the context of the intended embroidery process.
Artwork details that often need attention
Fine lines and tiny gaps are common trouble spots. A narrow line that looks distinct in vector artwork may not have enough room to form cleanly in thread. Similarly, very small lettering can close up or lose its character when the embroidery is reduced. The digitizer may need to adjust shapes or simplify details while keeping the logo recognizable.
Center seams create another consideration. If a design crosses a seam, the transition should be planned so the artwork does not appear unintentionally separated or misaligned. Not every cap has the same panel construction, so the cap itself and the intended placement matter when preparing the file.
Material also affects the plan. Structured caps and softer styles can behave differently under the needle. A digitizer should consider the fabric and construction instead of assuming that one file will produce identical results across every cap. For a related overview, see this resource on cap fabric digitizing settings.
Digitizing is only one part of production
A strong file needs an appropriate cap frame and machine setup to translate its stitch plan into a clean sew-out. How the cap is positioned and secured can affect stability and placement. Follow the relevant equipment instructions for your machine and frame; this cap embroidery frame guide is one resource for understanding cap-frame use.
Likewise, review the cap embroidery machine setup for the equipment in use. A file cannot compensate for every setup issue, and a correctly digitized design still needs to be framed and sewn appropriately. If the first sew-out reveals a problem, identify whether it comes from the artwork, digitizing, cap positioning, or another production factor before making changes.
A practical review checklist before production
- Confirm the finished logo dimensions and its intended location on the cap.
- Review small lettering, fine lines, narrow spaces, and details that may be difficult to stitch at that size.
- Check that the stitch sequence, directions, and underlay suit the design rather than following a one-size-fits-all approach.
- Make sure the cap style and fabric have been considered when preparing the file.
- Use the correct cap frame and follow the machine’s setup guidance.
- Run a sew-out on a comparable cap when practical, then assess readability, coverage, alignment, and overall appearance.
Common questions about cap logo digitizing
Can I use a regular shirt logo file on a cap?
Sometimes a design can be adapted, but a file intended for a flat garment may not sew as expected on a curved cap panel. The cap’s shape, construction, and framing conditions can affect how stitches form. Have the file reviewed for the intended cap and embroidery size rather than assuming that the same settings will work unchanged.
Why does small text look different after embroidery?
Thread and fabric do not reproduce tiny shapes in the same way that a screen does. At small sizes, letters can become crowded, gaps can close, and thin strokes may lose definition. Reviewing the wording at its finished size helps identify details that may need adjustment to remain readable.
Does good digitizing guarantee a perfect sew-out?
No single file can guarantee identical results in every production setup. Digitizing is important, but the cap material, framing, machine setup, and sewing conditions also affect the finished embroidery. A sew-out is a practical way to assess how the complete process is working.
Prepare the file for the cap you plan to sew
Flat artwork is the starting point, not the finished embroidery plan. A production-minded digitizing approach considers the cap’s curve, the logo’s smallest details, stitch behavior, and the way the design will be framed and sewn. Share the artwork along with the intended cap style, finished size, and any placement requirements when requesting digitizing. Eagle Digitizing can help prepare a hat embroidery logo for its intended application. Request a quote or upload your design to take the next step toward a cap-ready file.