Logo Digitizing for Beginners: Basic Steps to Digitize Your Logo
In the world of branding and marketing, having a digital version of your logo is essential. Whether you're a small business owner or a hobbyist, understanding the basics of logo digitizing can open up new possibilities for your brand. This guide will walk you through the fundamental steps of digitizing your logo, ensuring you have a professional and versatile digital asset.
Understanding Logo Digitizing
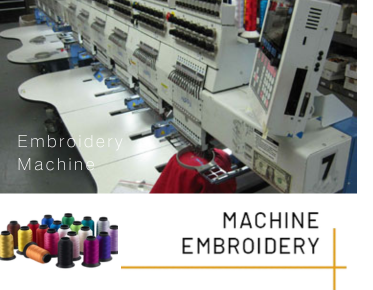
Logo digitizing is the process of converting a logo into a digital format that can be used for various applications, such as embroidery, printing, and online branding. This process involves using specialized software to trace the logo and create a file that can be read by machines. Embroidery digitizing is a common application of this process, allowing logos to be stitched onto fabric with precision.
Choosing the Right Software
To begin digitizing your logo, you'll need to select the appropriate software. There are numerous options available, ranging from free tools to professional-grade software. When choosing software, consider factors such as ease of use, features, and compatibility with your embroidery machine. Some popular choices include Wilcom, Hatch, and Brother's PE-Design. These programs offer a range of features that cater to both beginners and experienced users.
Preparing Your Logo
Before you start the digitizing process, it's crucial to prepare your logo. Ensure that your logo is in a high-resolution format, such as a vector file, to maintain quality during the digitizing process. If your logo is not in a vector format, you may need to convert it using vectorization services. This step is vital for achieving a clean and professional result.
Digitizing Your Logo
Once your logo is ready, you can begin the digitizing process. Start by importing your logo into the software and setting the parameters for your design. This includes selecting the stitch type, density, and direction. The software will guide you through the process, allowing you to adjust the settings to achieve the desired look. Digitizing embroidery service providers can also assist in this process if you prefer professional help.
Testing and Refining
After digitizing your logo, it's essential to test the design. This involves running a sample stitch-out to ensure that the logo appears as expected. Pay attention to details such as stitch quality, color accuracy, and overall appearance. If necessary, make adjustments to the design and test again. This step is crucial for ensuring that your logo looks professional and meets your standards.
Saving and Using Your Digitized Logo
Once you're satisfied with the digitized logo, save it in the appropriate file format for your intended use. Common formats include DST, PES, and EXP, which are compatible with most embroidery machines. With your digitized logo ready, you can now use it for various applications, from creating custom apparel to enhancing your brand's online presence.
Exploring Professional Services
If you're not comfortable digitizing your logo yourself, consider using professional services. Companies like Eagle Digitizing offer comprehensive embroidery digitizing services that cater to a wide range of needs. With over 25 years of experience, Eagle Digitizing provides high-quality digitizing with quick turnaround times, ensuring your logo is ready for any application.
Future Trends in Logo Digitizing
As technology continues to evolve, the field of logo digitizing is expected to see significant advancements. From AI-driven design tools to more intuitive software interfaces, the future holds exciting possibilities for both beginners and professionals. Staying informed about these trends can help you leverage new tools and techniques to enhance your brand's visual identity.
Embarking on the journey of logo digitizing can be both rewarding and challenging. By understanding the basic steps and exploring professional services, you can create a digital version of your logo that elevates your brand. Whether you're a small business owner or a creative enthusiast, mastering logo digitizing opens up a world of opportunities for your brand's growth and recognition.


.png)