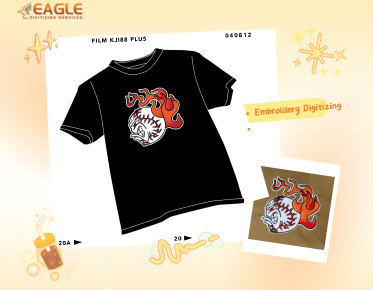
How to Convert JPG to DST File Online: Step-by-Step
Converting a JPG image to a DST file is a crucial step for anyone involved in embroidery. The DST format is widely used in embroidery machines to read designs and execute them on fabric. This guide will walk you through the process of converting a JPG to a DST file using online tools, ensuring you can easily prepare your designs for embroidery.
Understanding the Basics
Before diving into the conversion process, it's important to understand what a DST file is. A DST file is a computer-aided design (CAD) file format used by embroidery machines. It contains instructions for stitching, including the path of the needle, thread colors, and other essential details. On the other hand, a JPG is a common image format that needs to be digitized into a stitch file for embroidery purposes.
Step 1: Choose a Reliable Online Conversion Tool
The first step in converting a JPG to a DST file is selecting a reliable online conversion tool. There are several options available, but it's crucial to choose one that offers accuracy and ease of use. Websites like Eagle Digitizing provide professional digitizing services that can convert your images into embroidery-ready files.
Step 2: Upload Your JPG Image
Once you've selected a conversion tool, the next step is to upload your JPG image. Ensure that your image is clear and of high quality, as this will affect the final embroidery output. Most online tools will have a straightforward upload interface where you can drag and drop your file or select it from your computer.
Step 3: Specify Conversion Settings
After uploading your image, you will need to specify the conversion settings. This includes selecting the output format (DST in this case) and any specific requirements for your embroidery machine. Some tools may offer additional options such as thread color selection and stitch density adjustments.
Step 4: Initiate the Conversion Process
With your settings configured, you can now initiate the conversion process. This step involves the tool processing your JPG image and converting it into a DST file. Depending on the complexity of your design and the tool's capabilities, this process can take anywhere from a few seconds to several minutes.
Step 5: Download and Review the DST File
Once the conversion is complete, you will be able to download your DST file. It's important to review the file to ensure that it meets your expectations and is ready for embroidery. Some online services, like ZDigitizing, offer previews of the stitch file, allowing you to make any necessary adjustments before finalizing your design.
Additional Tips for Successful Conversion
Ensure High-Quality Images
High-quality images result in better digitizing outcomes. Make sure your JPG is clear and has distinct color separations. This will help the conversion tool accurately translate the image into a stitch file.
Utilize Professional Services
If you're looking for precision and quality, consider using professional digitizing services. Companies like Eagle Digitizing offer expert services with quick turnaround times, ensuring your designs are ready for embroidery without hassle.
Test the File
Before proceeding with mass production, test the DST file on a sample fabric. This will help you identify any issues and make necessary adjustments to the design or settings.
Exploring the Future of Embroidery Digitizing
As technology advances, the process of converting images to embroidery files is becoming more streamlined and accessible. The integration of AI and machine learning in digitizing tools promises even greater accuracy and efficiency. For businesses and hobbyists alike, staying updated with these advancements can offer a competitive edge in the embroidery industry.
Whether you're a seasoned professional or a newcomer to embroidery, understanding the process of converting JPG to DST files is essential. By following these steps and utilizing reliable services, you can ensure your designs are perfectly prepared for embroidery. As the industry evolves, embracing new technologies and methods will continue to enhance the quality and creativity of embroidery projects.


.png)