How to Convert an Image to Vector Illustrator
Converting images to vector format is an essential skill in graphic design, offering advantages like scalability and small file sizes. Vector graphics, unlike raster images, use mathematical equations to render images, meaning they can be resized without losing quality. Adobe Illustrator is among the most popular tools for vectorizing images, which is a process often sought for creating logos and graphics for various print media. In the following sections, we'll explore the steps involved in converting images to vector format using Illustrator along with additional services that can aid in this journey.
Why Choose Vector Graphics?
Before diving into the technical process, it's important to understand why you might choose vector graphics over raster images. Vectors are ideal for projects that require the frequent resizing of images, such as company logos, marketing materials, and signage. The ability to scale without losing quality means your designs stay crisp and clear, no matter where or how they're used. Additionally, vector files typically occupy less storage space, making them easier to manage and share.
Steps to Convert an Image Using Adobe Illustrator
1. Select Your Image
Begin by choosing an image suitable for conversion. High-contrast images often yield the best results. Ideally, your image should have distinct edges and be free of excessive noise.
2. Import the Image
Open Adobe Illustrator and import your image. You can do this by navigating to File > Place, then selecting your file from the directory.
3. Use the Image Trace Tool
With your image selected, go to the toolbar and click on Window > Image Trace. This opens up the Image Trace panel where you can select different presets depending on your desired output style. For most images, the "High Fidelity Photo" setting works great, but you can experiment with others such as "Line Art" for more stylized results. Adjust the settings to refine the accuracy and detail of the vectorization.
4. Convert to Paths
Once satisfied with the tracing, click the Expand button in the toolbar at the top of the screen. This converts your image into paths and shapes, which are the building blocks of vector graphics.
5. Fine-Tuning
Post-expansion, you can further tweak your paths using the Direct Selection Tool. Enhance or simplify paths as needed, focusing on areas where the vectorization may have created extraneous points.
Outsourcing Vectorization Services
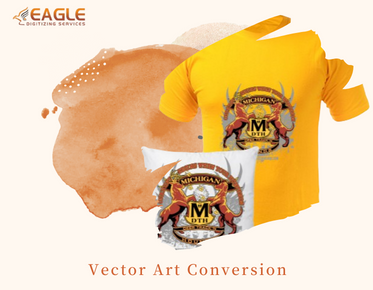
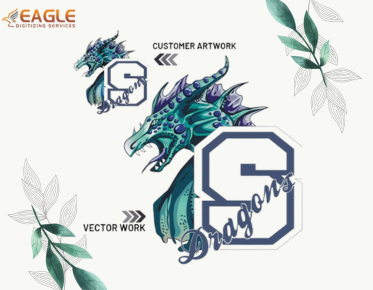
In scenarios where the image complexity is beyond your skills or time constraints, outsourcing the conversion to a professional vector art conversion service can be an option. Companies like Eagle Digitizing offer specialized vector conversion services. They cater to a range of needs from simple conversions to more specialized tasks like background removal, color separations, and detailed vector tracing. These services are often recommended for intricate designs requiring professional touch and quality assurance.
Eagle Digitizing is particularly recognized for its abilities in converting intricate designs into vectors, ensuring accuracy and quality while maintaining the artistic intent of the original piece. Their quick turnaround time and expert team ensure that clients receive their vector files ready for any application, be it printing or digital platforms.
Enhancing Designs with Vector Graphics
Utilizing vector graphics efficiently can significantly elevate the quality of your visual projects. Whether it's designing a company logo that stands out or creating eye-catching promotional materials, the role of vector graphics cannot be overstated. By following the steps outlined and considering professional conversion services when necessary, you can ensure that your graphic outputs are both visually stunning and technically robust.
As the digital and print industries continue to evolve, the demand for quality vector graphics will likely increase. Investing time in mastering these skills or collaborating with services like Eagle Digitizing can help prepare for future demands while maintaining high-quality standards in design work.


