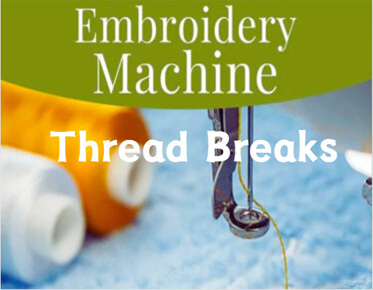
How to deal with thread breaks during the embroidery process?
It's enough to drive even the most patient crafter up the wall: Picture yourself diligently stitching a design that's behaving perfectly, only for the thread to start breaking repeatedly. Before you consider launching your embroidery machine out the window, let's troubleshoot this common issue with a step-by-step checklist.
Change Your Needle
Begin by inserting a fresh needle into your machine. A damaged or burred needle can lead to frequent thread breaks, even if the issue isn't immediately visible. It's wise to keep a good stock of spare needles handy to avoid running out unexpectedly!
Re-Thread Everything
Remove both the top and bobbin threads from your machine and re-thread them. Ensure the thread is correctly unwinding from the spool -- your machine's manual should indicate the correct orientation. Gently tug on the thread ends to ensure they are properly caught in the tension discs. Re-threading is a reliable strategy for banishing sewing machine gremlins.
Slow It Down
Most embroidery machines allow you to adjust the stitching speed. If thread breaks persist, try slowing down the machine to reduce the stress on the thread.
Check Your Thread
Some threads are more prone to breaking than others. Old thread can become dry and brittle, leading to more breaks. Thread quality varies, and some embroiderers find certain brands work better for them. Experiment to find what works best for you.
Unwind
Here's a tip some embroiderers swear by, especially for metallic thread: place your thread spool in a coffee cup, positioned next to or slightly away from your machine, and thread as usual. This provides the thread with more space to unwind, reducing the chances of kinking and breaking. Ensure the thread cannot get caught between the cup and the machine.
Check Your Tension
If you notice thread nests beneath the embroidery, along with breaks, check the top and bobbin thread tension. A good test is to stitch a design with satin stitch areas. Proper tension will result in the bobbin thread occupying 1/3 to 1/2 of the back of a satin stitch column.
Keep It Stable
Ensuring your embroidery is adequately stabilized can prevent subtle shifts that lead to misbehavior. Refer to tutorials on selecting stabilizer and hooping fabric/stabilizer for optimal results!
When should you seek professional help? If you've gone through these steps and are still experiencing frequent thread breaks, it may be time to have your machine serviced. A tiny burr elsewhere in the thread path could be the culprit, and your local sewing machine technician is best equipped to address this. They can also identify any other issues that may be hindering your progress.
However, most thread break issues can be resolved with the steps outlined above. Take them one by one, and your embroidery design will be running smoothly in no time!
Finally, if you still encounter thread breakage issues after following the above steps, it is advisable to seek professional help. There may be a tiny burr elsewhere in the thread path, which could cause thread breakage. Your friendly local sewing machine technician is the best person to help resolve this issue. They can also help identify any other issues that may affect your embroidery.
In conclusion, by checking these steps one by one, your embroidery design will be running smoothly in no time! Eagle digitizing embroidery digitization
I hope this helps!


.png)